目录
前言
Paseo 是一个可自托管的 AI 编程代理管理与编排平台。它可以将你安装的Cli Agent统一管理起来,支持:
- Codex
- Claude
- OpenCode
- Pi
等多个Agent平台。相当于CLI 编程工具的统一控制台 + 远程管理平台 + 多代理调度器。
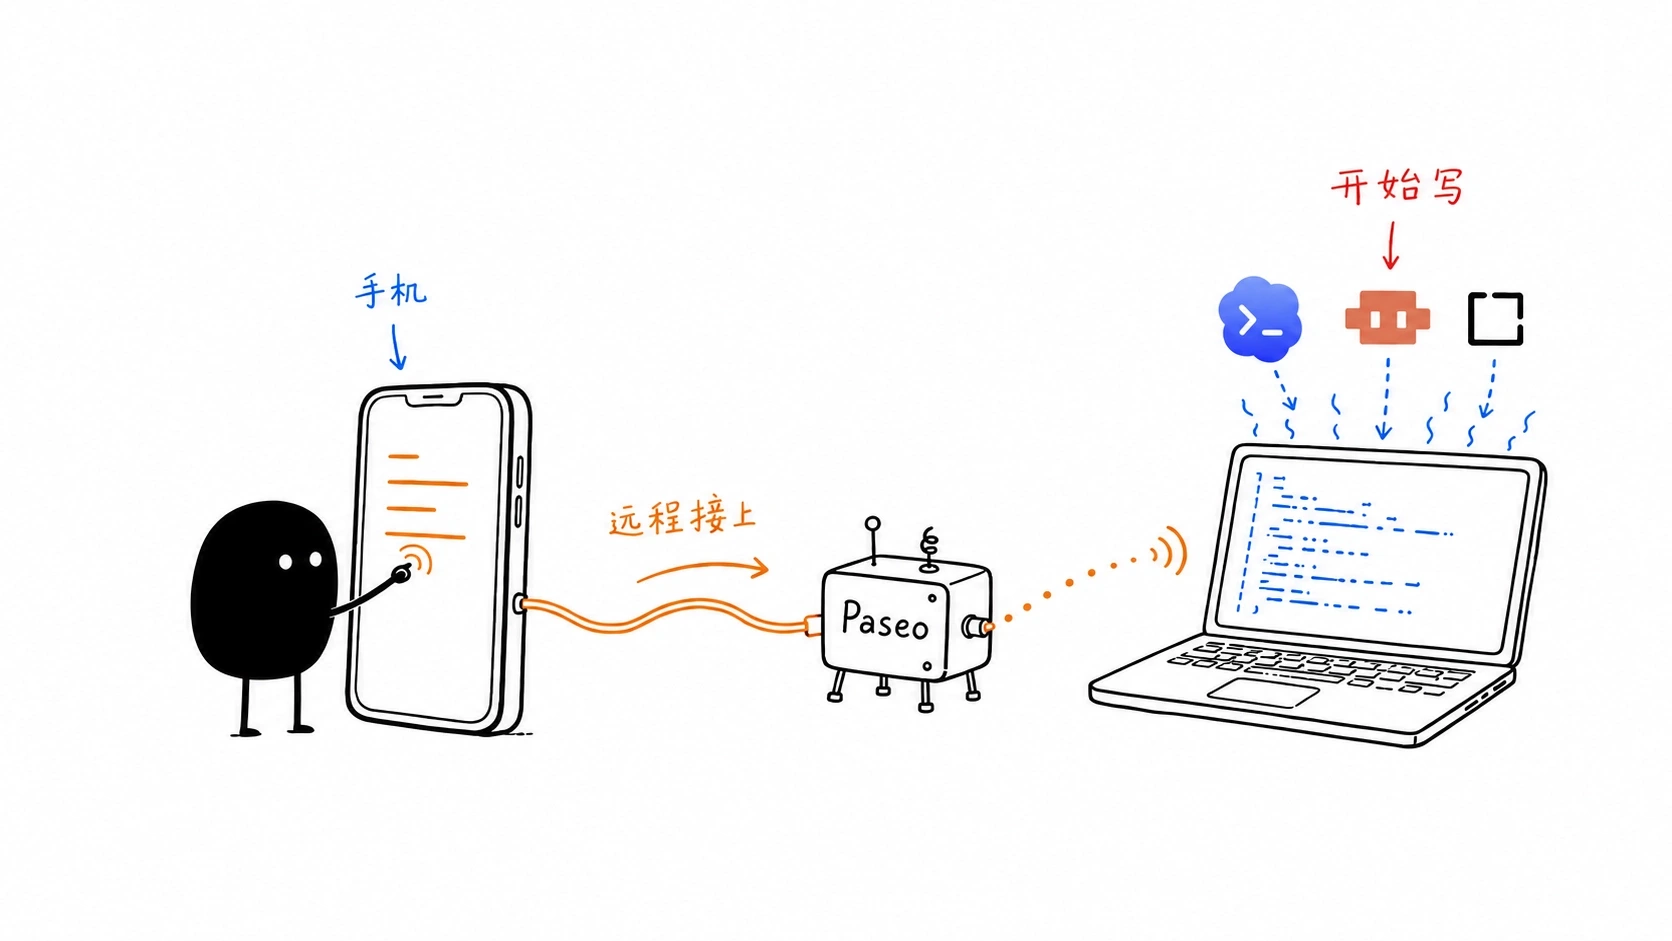
核心原理是在你使用Agent的系统环境中运行一个 Paseo Daemon 中间件,负责启动代理、管理项目目录、终端和代理会话。然后通过官方Relay或自部署Relay,实现和手机app的连接配对,从而在手机上继续与Codex等Agent对话,查看实时输出,继续完成你的任务。
并且它有安卓、IOS、Windows/macOS/Linux 桌面端,使用起来非常方便。
这是Cli工具的管理平台,适合像我一样主力是WSL+Codex Cli/OpenCode的人使用,可以无缝兼容工作区和会话记录。
如果你使用Codex桌面端,请移步,此工具不适配。
一、安装与配对
推荐安装Paseo Daemon Cli:
npm install -g @getpaseo/cli并在移动端安装 APP。然后终端输入
paseo服务会启动并显示配对二维码,手机APP扫描即可完成配对。
此时会使用官方的Relay服务,由于是公益性质+部署在国外,你在使用过程中会非常的卡,建议先别配对,移步第二节先进行自部署。
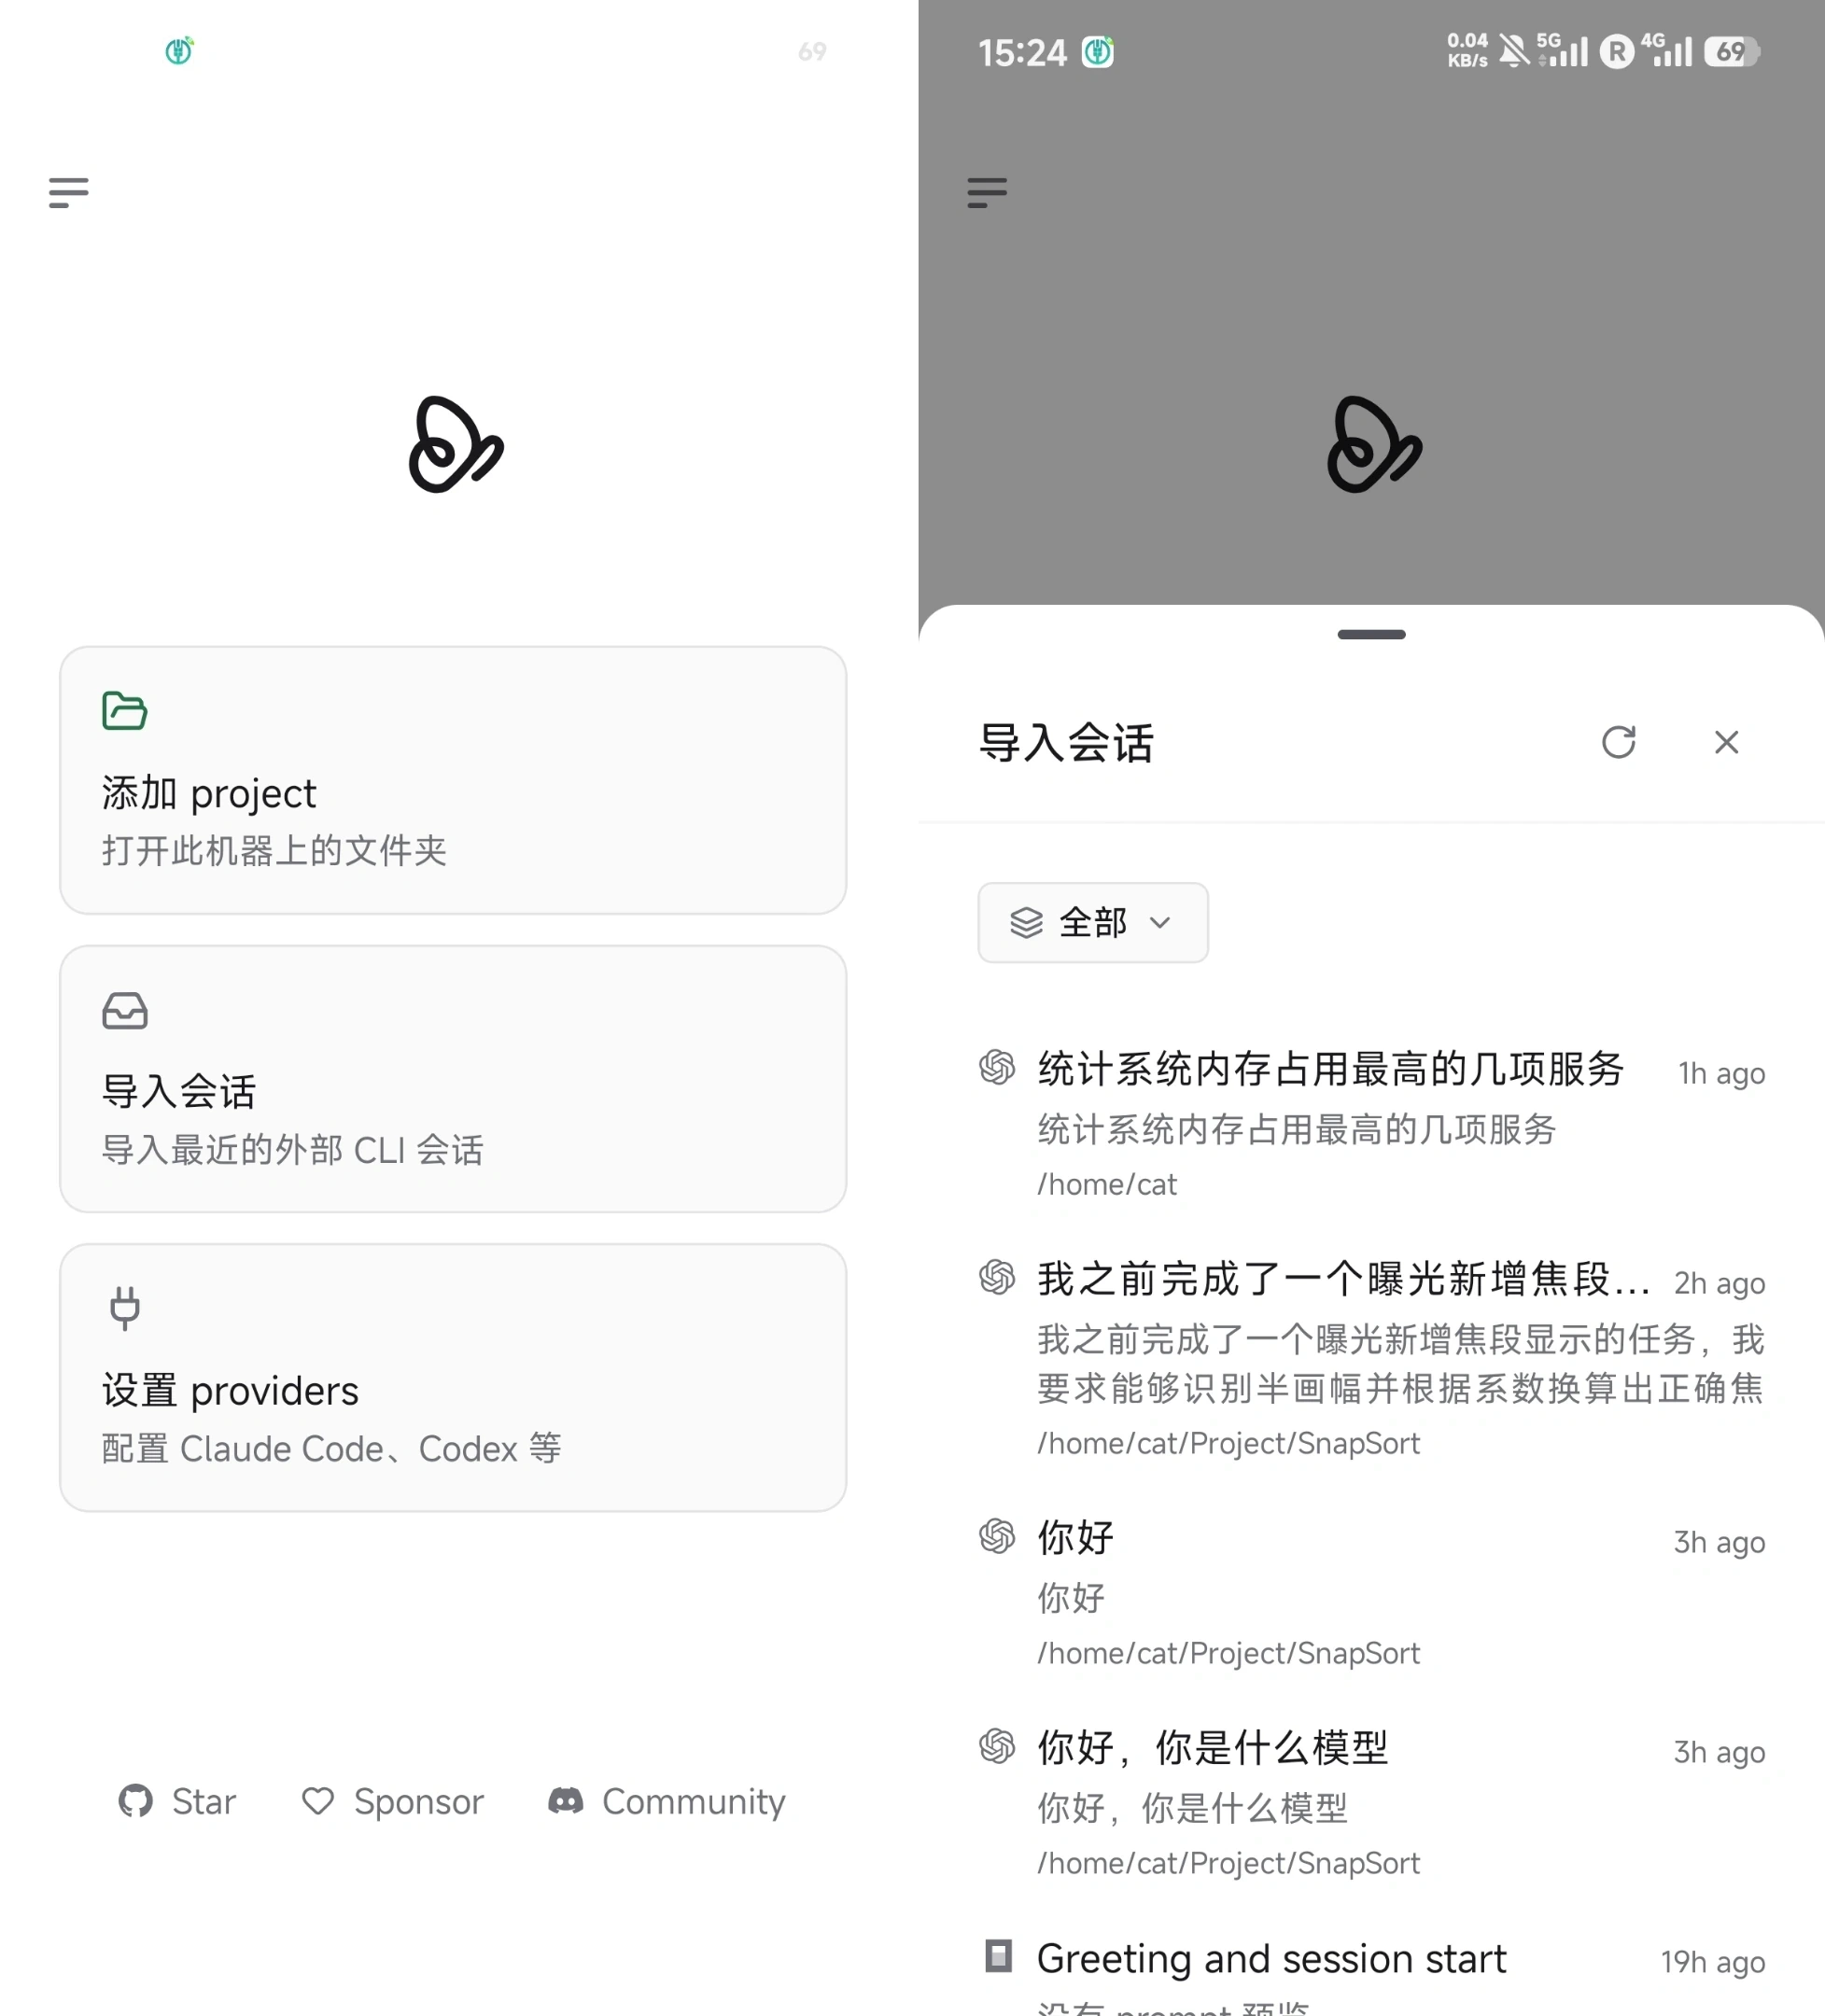
接着你可以选择导入会话,快速导入最近的会话进入对对应工作区继续你的任务:
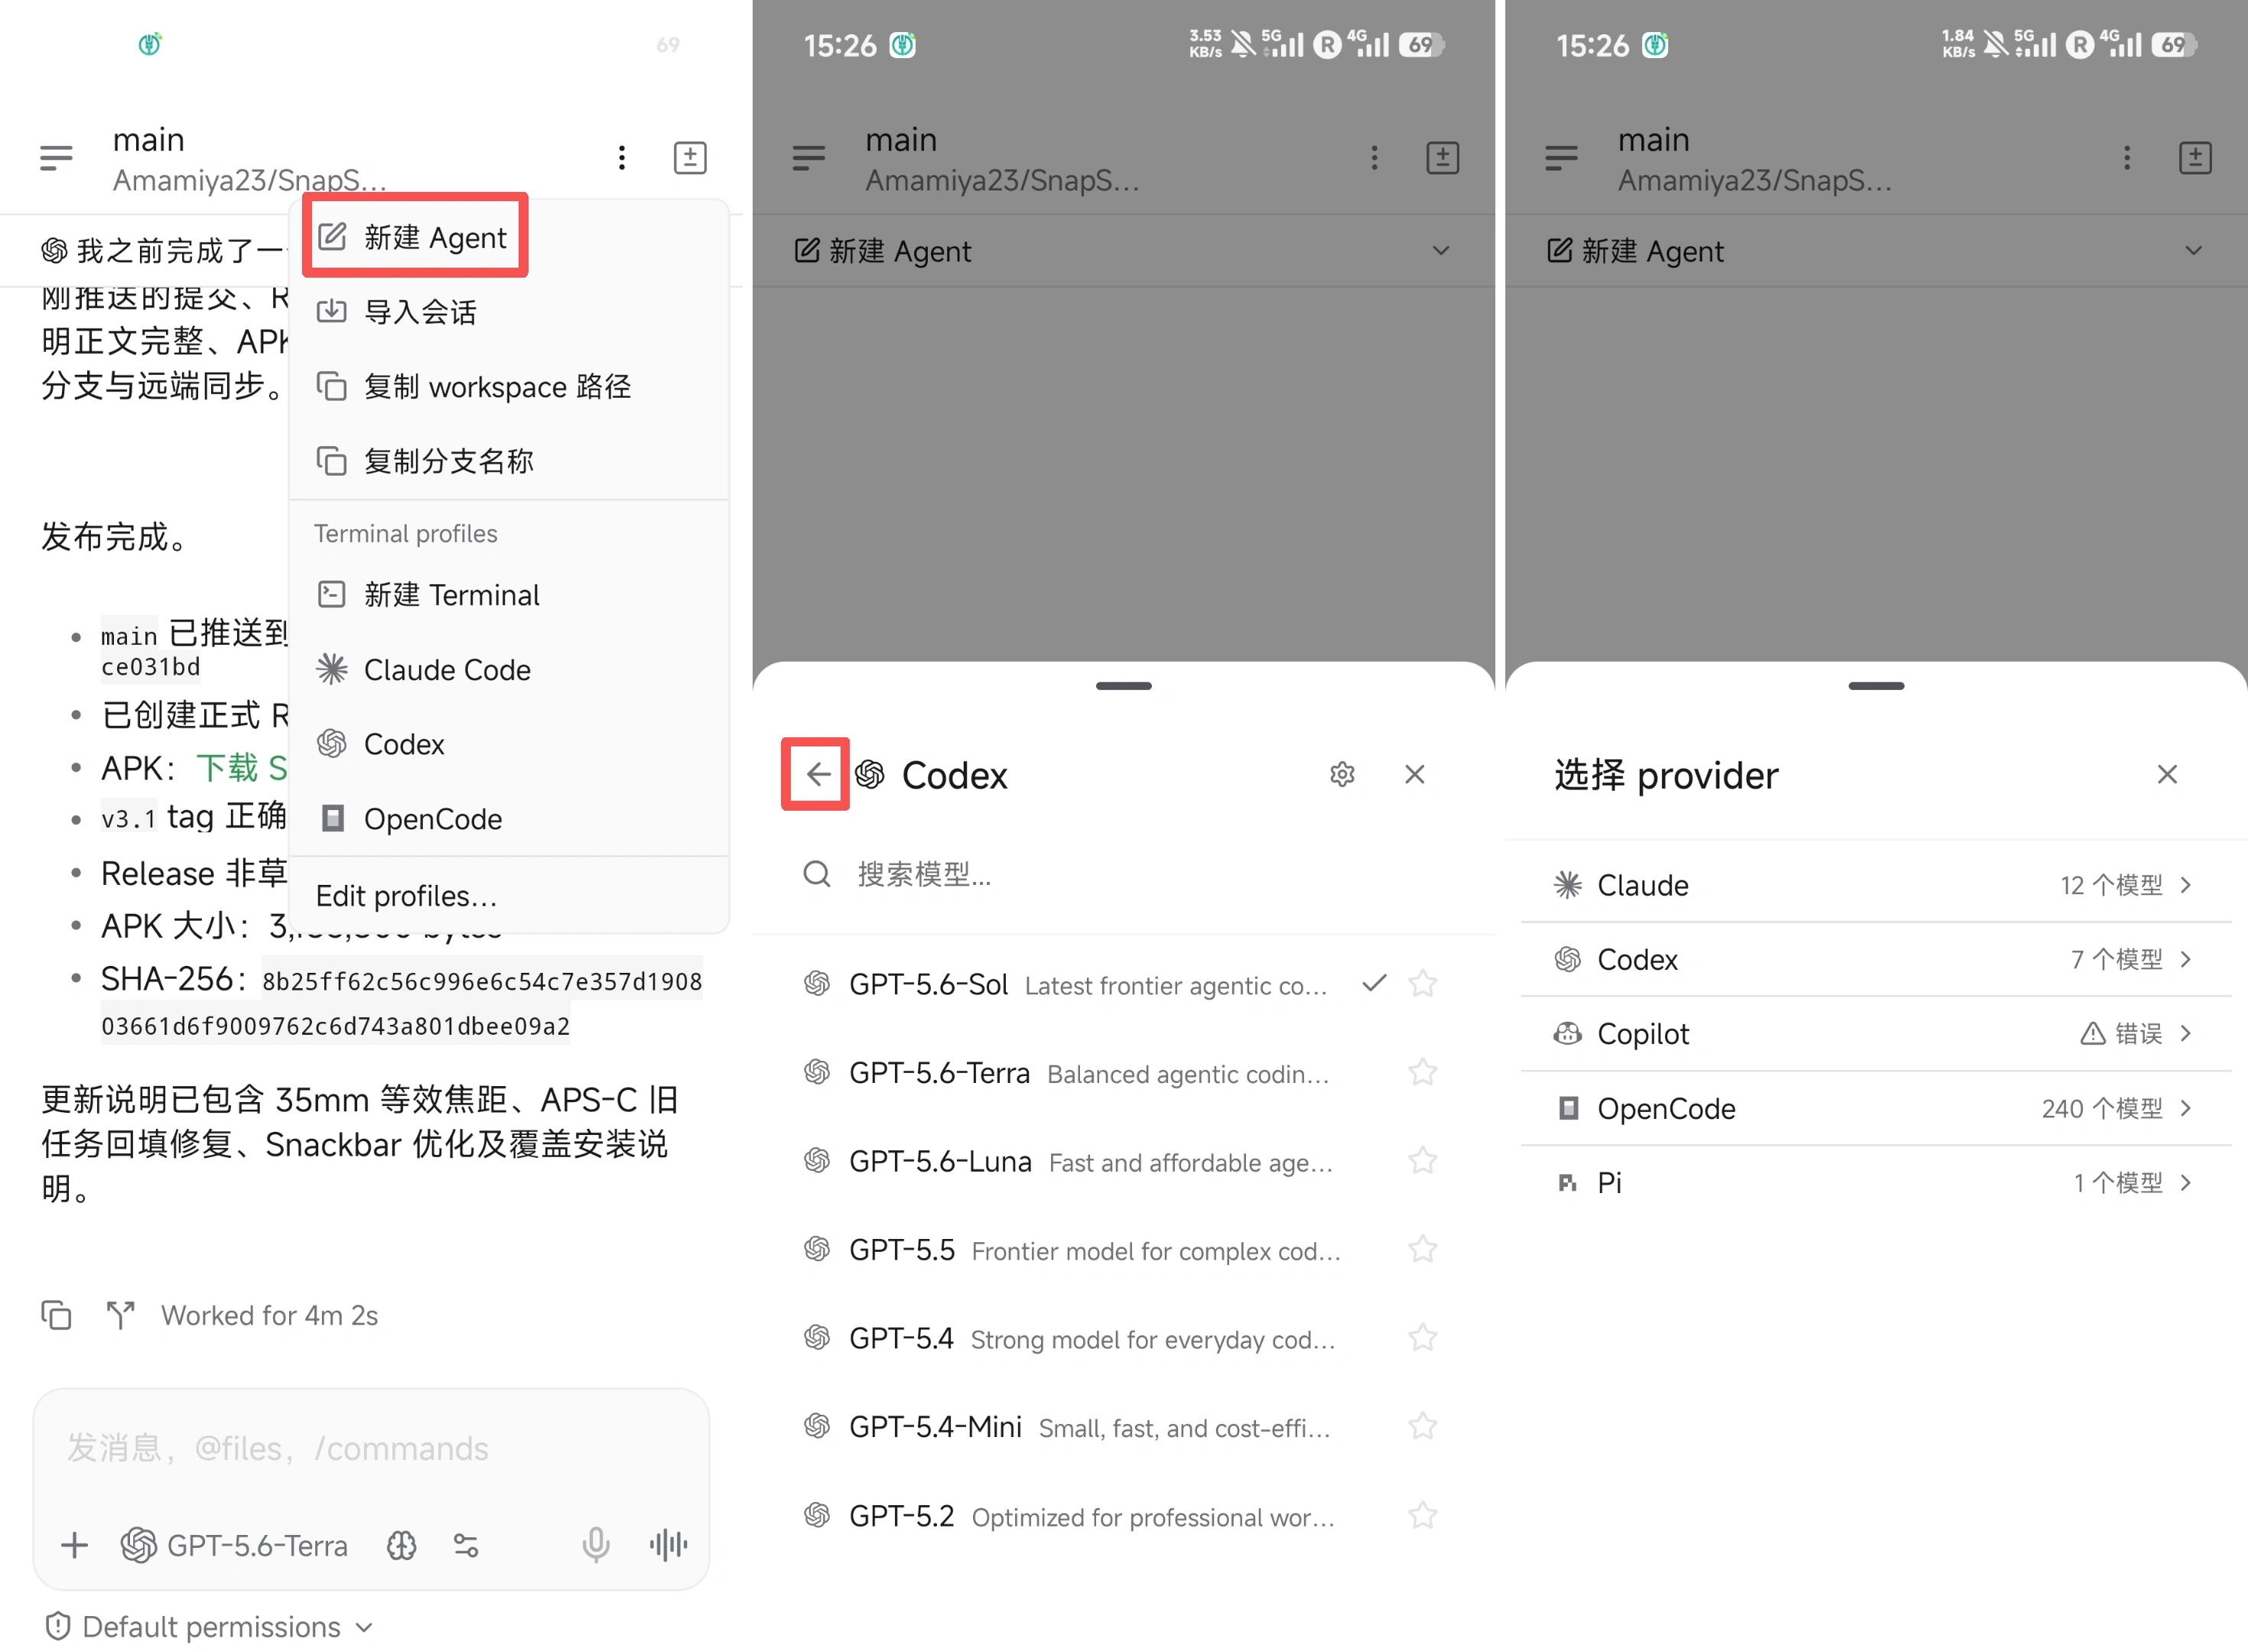
在右上角根据下图路径,可以新开会话或者切换为其它Agent:
这时你就可以愉快的远程VibeCoding了~
二、自部署
如果你是博主朋友可以直接找我要自部署的URL。
使用 Paseo Relay ,这是一个轻量级的 Paseo中继服务器。当 Paseo Daemon与移动端无法直接连接时,它会负责转发双方的端到端加密流量。建议使用域名并配置Https,保证安全性。你可以直接将下面内容或仓库地址发给agent让它帮你完成。
创建部署目录:
mkdir -p /opt/paseo-relay && cd /opt/paseo-relay创建 compose.yaml:
services:
  relay:
    image: ghcr.io/zenghongtu/paseo-relay:latest
    container_name: paseo-relay
    restart: unless-stopped
    environment:
      LOG_FORMAT: json
    ports:
      - "127.0.0.1:8411:8411"
    security_opt:
      - no-new-privileges:true
拉取镜像并启动:
docker compose pull
docker compose up -d
检查运行状态:
curl http://127.0.0.1:8411/health> [!SUCCESS]
> {"status":"ok","version":"v0.3.0"}
后续更新也只需要:
cd /opt/paseo-relay
docker compose pull
docker compose up -d
然后配置nginx:
server {
    listen 80;
    listen [::]:80;
    server_name '你的域名';

    location / {
        proxy_pass http://127.0.0.1:8411;
        proxy_http_version 1.1;

        proxy_set_header Host $host;
        proxy_set_header X-Real-IP $remote_addr;
        proxy_set_header X-Forwarded-For $proxy_add_x_forwarded_for;
        proxy_set_header X-Forwarded-Proto $scheme;

        proxy_set_header Upgrade $http_upgrade;
        proxy_set_header Connection "upgrade";

        proxy_read_timeout 3600s;
        proxy_send_timeout 3600s;
        proxy_buffering off;
    }
}/etc/nginx/sites-available/”
启用站点并重载 Nginx:
sudo ln -s /etc/nginx/sites-available/'你的域名' \
  /etc/nginx/sites-enabled/'你的域名'

sudo nginx -t
sudo systemctl reload nginx
使用 Certbot 自动申请证书并配置 HTTPS:
sudo certbot --nginx \
  -d ’你的域名‘ \
  --redirect
验证部署结果:
curl https://'你的域名'/health> [!SUCCESS]
> {"status":"ok","version":"v0.3.0"}
然后大功告成,在你的开发环境编辑Paseo配置文件:
{
  "$schema": "https://paseo.sh/schemas/paseo.config.v1.json",
  "version": 1,
  "daemon": {
    "listen": "127.0.0.1:6767",
    "cors": {
      "allowedOrigins": ["https://app.paseo.sh"]
    },
    "relay": {
      "enabled": true,
      "endpoint": "'你的域名':443",
      "publicEndpoint": "’‘:443",
      "useTls": true,
      "publicUseTls": true
    }
  },
  "app": {
    "baseUrl": "https://app.paseo.sh"
  },
  "features": {
    "dictation": {
      "enabled": false
    },
    "voiceMode": {
      "enabled": false
    }
  }
}
~/.paseo/config.json
重启 Paseo 守护进程:
paseo daemon start接下来进行配对即可。